|
|
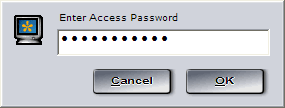
NetVizor has been designed to be extremely easy to use and configure. Setting up NetVizor will only take you a few minutes and then you will be ready to start monitoring! This quick guide will walk you through setting up and getting NetVizor ready. How NetVizor works... NetVizor has TWO components - the viewer, and the client. The viewer is what you install on a central computer on your network to connect to other NetVizor clients with. The client is what does all of the actual monitoring, and is installed on each computer on the network. For NetVizor to work it must be running - if you close NetVizor it will not be able to continue monitoring your computer. NetVizor can be manually started at anytime by double clicking its icon in its installation folder. For a step-by-step installation guide, click here. Running NetVizor for the first time When you first run the NVClientInstall.exe file the client will be installed and executed automatically preconfigured for optimal stealth - no user interaction is required. This means that the NetVizor client will be already monitoring your computer. You will probably want to change your password and tweak a few settings, though. To do that press CONTROL+ALT+SHIFT+M on your keyboard and enter the default password 'spytech' (no quotes). From there use the NetVizor user interface (described below) to make additional configuration changes. The NetVizor Graphical User Interface
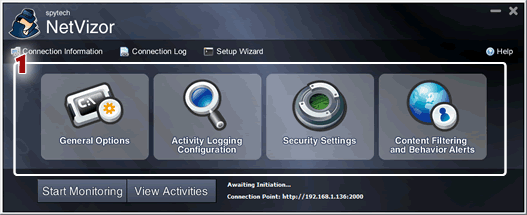
The highlighted area above signifies where you can configure NetVizor's main options. Activity Logging contains all of NetVizor's logging and recording options. Security contains all of NetVizor's security related settings. Content Filtering is where you can configure NetVizor's application, website, and chat filtering features. Finally, General Settings contains all of NetVizor's basic settings (such as password configuration).
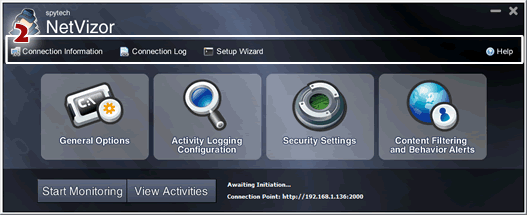
The highlighted area above signifies where you can view NetVizor help documentation, run the easy setup wizard, view connection information on how to remotely connect to the NetVizor client, and view NetVizor's connection log.
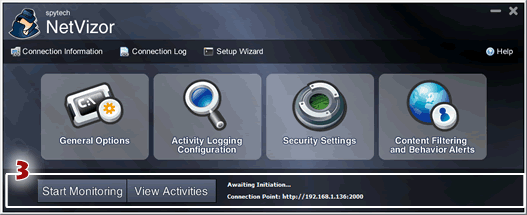
The highlighted area above signifies where you start/stop NetVizor's monitoring. Clicking on "View Activities" while NetVizor is monitoring will bring up the web interface for the client. If you run NetVizor in stealth mode you will not be able to use this button, so you should either connect to the web interface with the NetVizor viewer, or by pointing your browser to the "Connection Point" given to you next to the "Start Monitoring" button. Activating and Deactivating Monitoring
To restart monitoring click on 'Start Monitoring' again. Viewing Logs For further information on viewing and managing NetVizor's logs please see the viewing logs section. NOTE: You can always view logs locally from the computer being monitored by pointing your browser to http://127.0.0.1 while NetVizor is monitoring (if you are using an alternate port, add ":newport" to the address). Closing NetVizor Using the NetVizor Viewer
The viewer's main purpose is to view other computers on the network. The main window of the viewer, shown above, contains a list of computers you can view. You can have the viewer automatically enumerate all machines on your network, or you can configure it to show only the computers and users you want with the Add Computer and Log Storage Locations buttons. To view a computer or user logged, click on it in the list then click "View Activities". To view what all of your computer users are doing in realtime you can use the Realtime Activity Ticker - which shows you the current user of each machine that is logged in, along with the window title of the active window they are working in, or you can use the Visual Network Overview. The overview will show you screenshots of each monitored client, which you can click on to enlarge to a full sized view. For more detailed usage instructions about the viewer choose any of the topics under the Viewer heading in the left pane. |